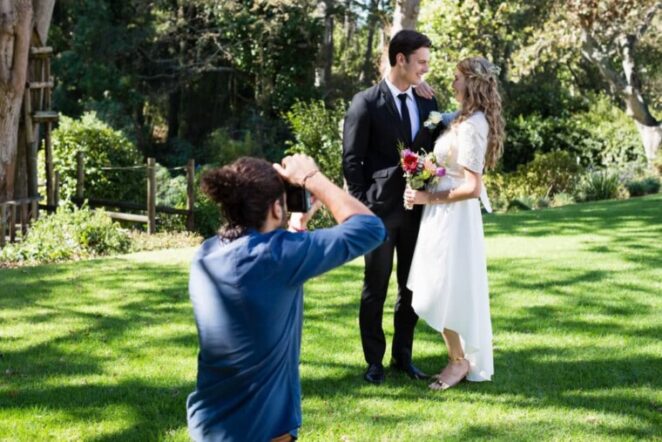
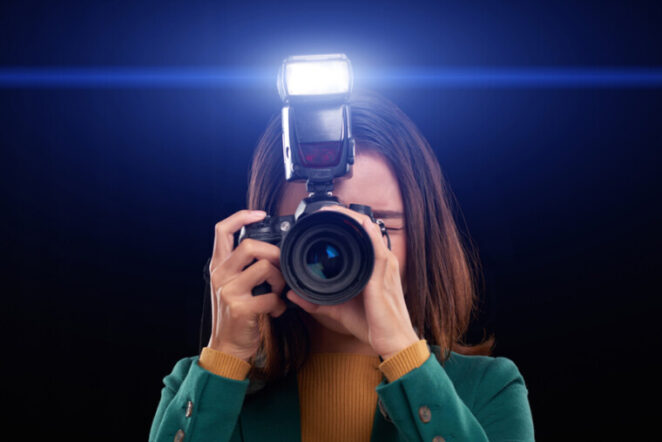
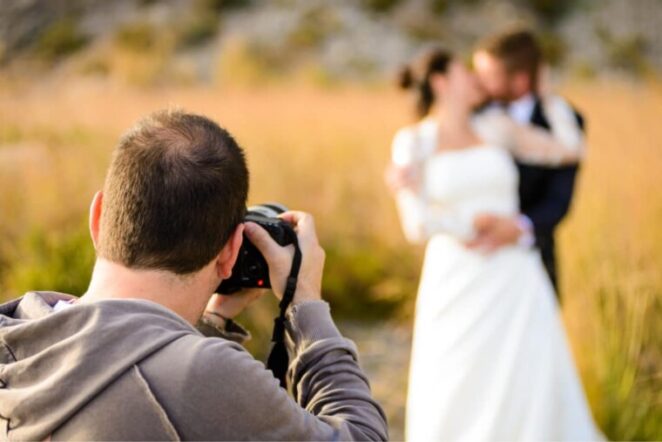
Wedding photography is quite possibly the most mainstream method of transforming your passion into a full-blown career. It’s an ideal occasion to bring in cash from your photography and an incredible chance to get seen in the local area.
Be that as it may, all around very regularly, beginners and semi-professionals disregard the fundamentals when either setting up their photography gear, arranging their poses, forming their shots, or editing their photos, eventually resulting in poor wedding photos.
Keep in mind, and you just get one chance to provide your mettle for every memorable day!
Thus, this article is here to assist you with beating that crucial factor and transform each wedding photo you take into a special memory for the lady of the hour and lucky man to treasure for eternity.
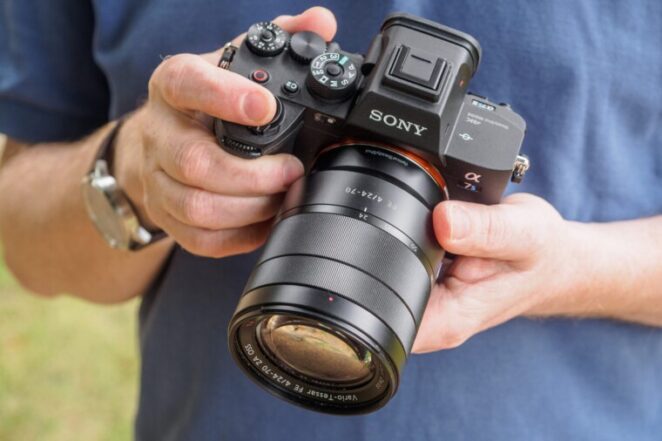
1. Put resources into faster lenses with the maximum aperture
A camera lens that offers a more extensive aperture gap is commonly seen as more professional than a lens with a more modest aperture since it permits you to capture a better picture at a quicker shutter speed.
Aperture is typically shown on a DSLR as an ‘F’ followed by a number; the more modest the number, the more extensive the aperture. If you’re actually finding out about the various aspects of photography, it’s a smart thought to acquaint yourself with the distinctive aperture abilities of your gear before your photo.

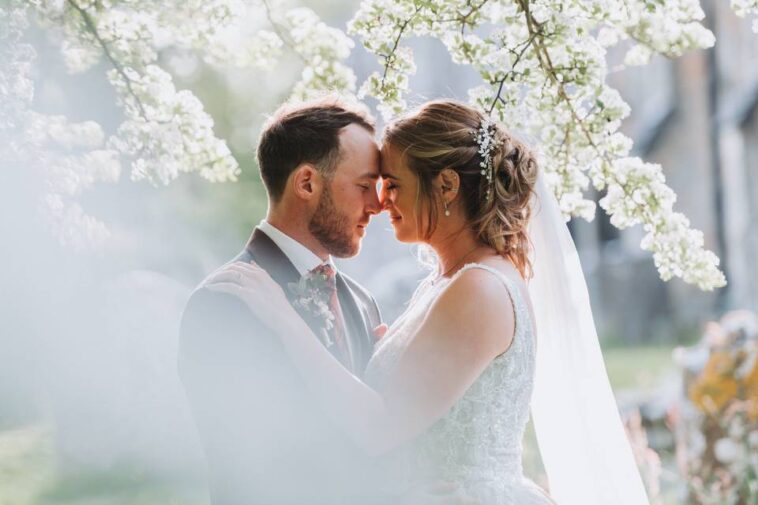
2. Use natural light where conceivable
The best photos are accomplished when natural light is utilized rather than counterfeit light. Any open-air shots you take will commonly benefit from an abundance of natural light. However, make sure to keep away from the bride and lucky man squinting in the sun and post for objects projecting shadows into the shot.
Most churches can be a little on the dark side, so it’s suggested that you increment the ISO on your camera to around 1600 to shoot great photographs without using a flash. A higher ISO will prompt a noisier (grainier) picture, yet this can add to the picture’s vibe or be edited out after creation.
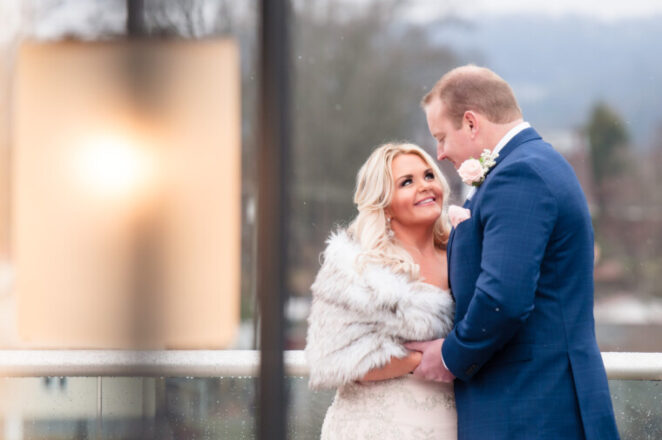
3. Make sure the background is right
While you will be focusing on details of the group photograph, make sure the family members in the background are happy and smiling. Remember to watch that the couple isn’t squinting under the splendid spotlights. Likewise, the location ought to be alleviating to the eyes and not glaring.
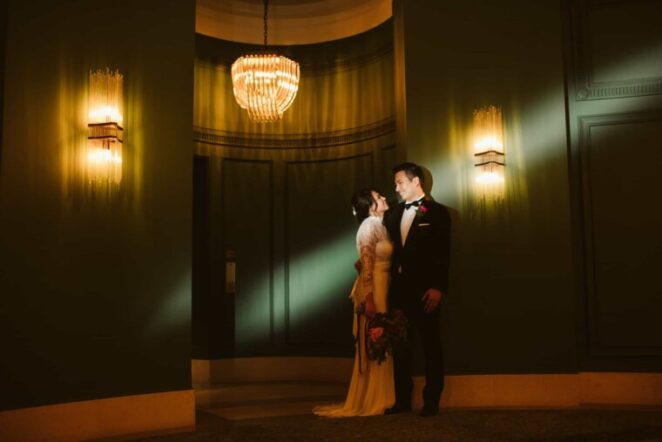
4. Hope to use flash during the reception
Reception lobbies will, in general, dwell on the hazier side, and it is one location that can be hard to click without appropriate lighting. Two or three different ways to make it simpler to photo a group include utilizing a prime lens with a wide aperture to let more light arrive at the camera sensor and flash to add all the more light to the room.
If you just have one flash, put it on your camera and attempt to bob light off of the roof or close by the wall for gentler lighting. A modifier can assist with this, as well. If you approach numerous flashes, utilize one flash on-camera and spot the secondary flashes toward the edge of the room, all highlighted towards the middle stage or dance floor. Make a test shot before the event starts to check your power settings. Typically, you’ll utilize a lower power setting, except if the flash units are set far away from their planned goal.
5. Shoot in RAW mode
When a DSLR clicks pictures in JPEG, it naturally cycles and packs the picture document as per what you’ve set the camera’s setting to. By setting your DSLR to shoot in a RAW format, you advise the camera to protect the vast majority of the data it gets, like the sharpness and contrast.
The primary advantage of shooting in RAW mode instead of JPEG is that the pictures will be a lot simpler to edit and control after creation, taking into account a more impeccable completed item. Raw picture documents are a lot bigger in size, however, so you’ll have to ensure you have sufficient memory cards with you, just as guaranteeing your PC has the hard drive to store and edit them.
6. Know your wedding photo editing software
Whichever editing software you use, regardless of whether it be Lightroom, Adobe, or something different, become acquainted with the application’s features for excellent editing. Make sure you know about the software’s options extensively.

7. Use Presets To Save Time
Utilize wedding presets to get a predictable look and save time. Since presets are nonexclusive by plan and no two pictures are the very same, you may need to make extra changes (generally to saturation and white balance). All things considered, thumping down your editing cycle to a few ticks as opposed to working through the entire development board for each picture can save a gigantic measure of time. You can browse beautiful wedding presets at sleeklens.
8. Build up an Editing Workflow
Photographers frequently click hundreds, if not a great many photographs, during a wedding, all of which should be edited. This can be tedious, which obviously decreases your pay. To accelerate your work process, winnow your pictures to keep simply the best photographs, and afterward utilize presets (lightroom wedding presets, adobe photoshop presets, or sleeklens wedding presets download) to get edited pictures.
For instance, if you’re editing wedding service photographs, odds are you caught them under similar lighting conditions without a lot of variety. Use presets to edit one of the photographs, and afterward synchronize the edits for the remainder of the pictures. Once more, do an underlying edit for every scene, cluster edit for that batch of images, and afterward, rehash.
Conclusion
Since you understand the recipe to be an incredible wedding photographer, you can now successfully begin a wedding photography business of your own.


